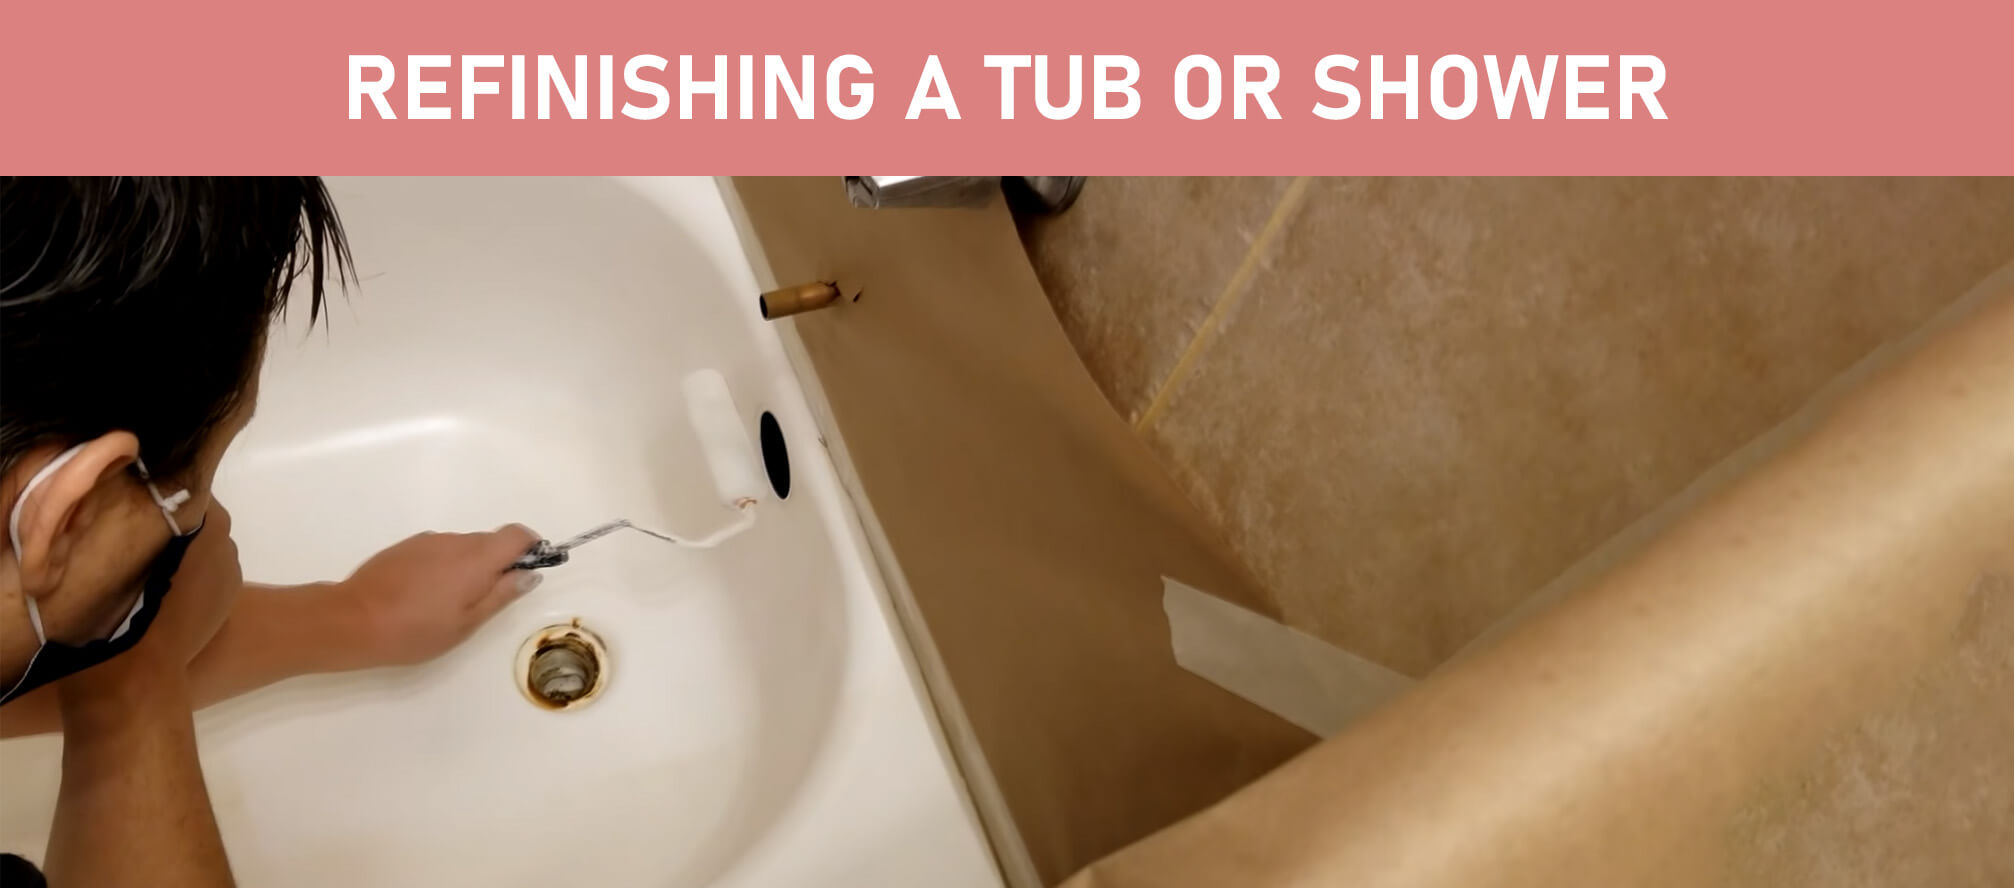
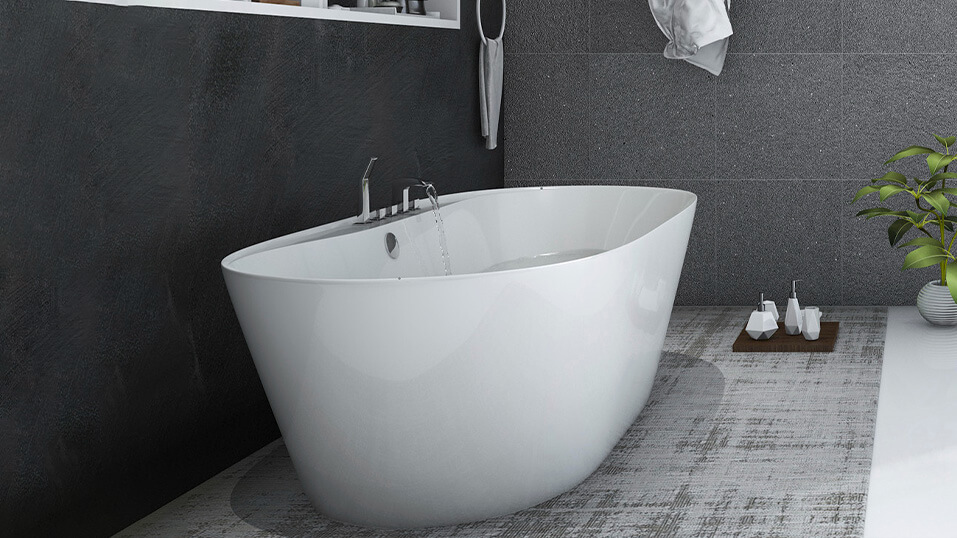
SHOWER & BATHUB REFINISHING
When it comes time to start updating your bathroom, the first thing you’re probably thinking about is replacing that old tub and/or shower. What you see as an old or worn-out tub may actually require a new finish rather than a full replacement. Refinishing your shower or bathtub is easier to today than ever, with all the modern products available, which we’ll discuss.
This handy DIY guide will provide you with a complete tutorial on how you can refinish and repaint your tub or shower areas with ease. If you’re looking to see how far you can go with a simple can of paint check out our DIY bathroom ‘paint makeover’ guide see here.
Refinishing VS. Replacement
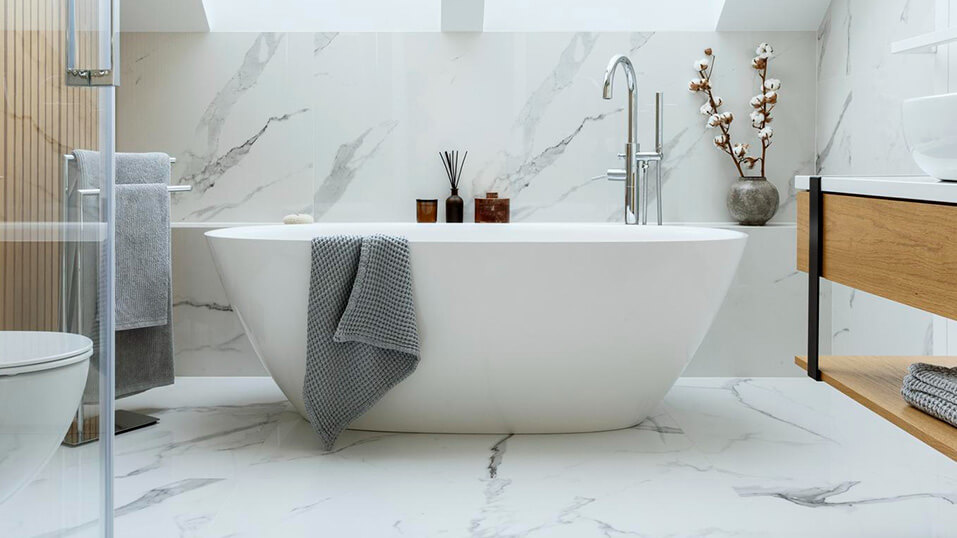
One of the most frustrating parts of bathroom renovations is obviously the costs involved whenever looking to purchase new fixtures like tubs and showers. Sure, the materials may have changed from iron tubs to plastic composites, but these days, the cost for a new tub or shower has gone up exponentially. The biggest benefit you can rely on is that old tubs and showers can be repainted at a fraction of the cost.
Some of the other benefits of shower or bathtub refinishing are; you don’t need to remove or install anything, you’re recycling an item you already have- making it eco-friendly, and lastly, your newly repainted tub or shower comes in any color you desire- making it easy to match your new or existing bathroom color scheme.
Preparation


Step 1: Gather Supplies and Equipment
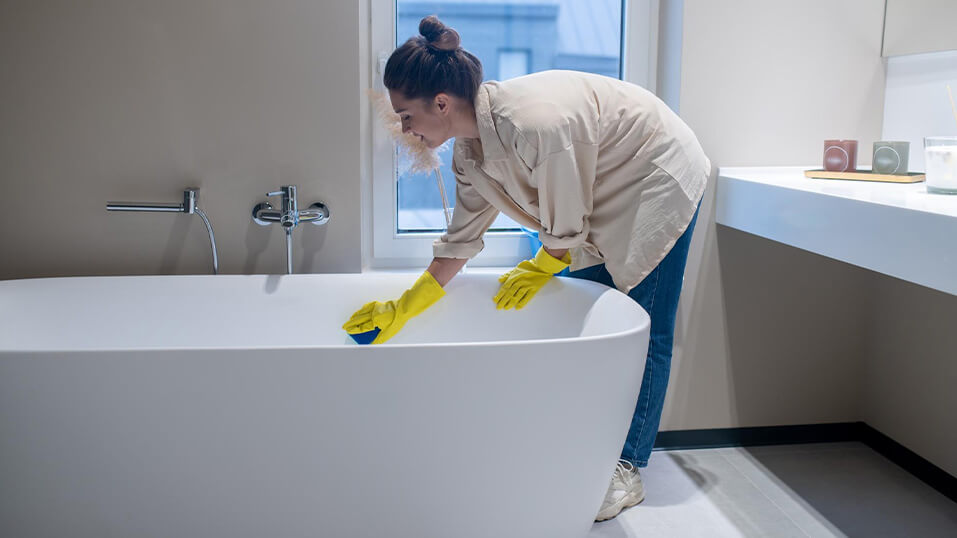
Before any DIY project, you will need to have the appropriate equipment and supplies to do the job correctly. Remember that safety is always part of home projects and a good canister respirator mask, rubber gloves, and work clothes that can get dirty are all a must. You’ll also need a painter’s drop cloth and masking tape in addition to a variety of sandpaper and cleaning supplies. If you have a shop vac, this will be essential to suck up the dusty debris that you create.
You’ll also need special epoxy paint (see below) that’s used for shower or bathtub refinishing surfaces and the painting equipment that goes with it.
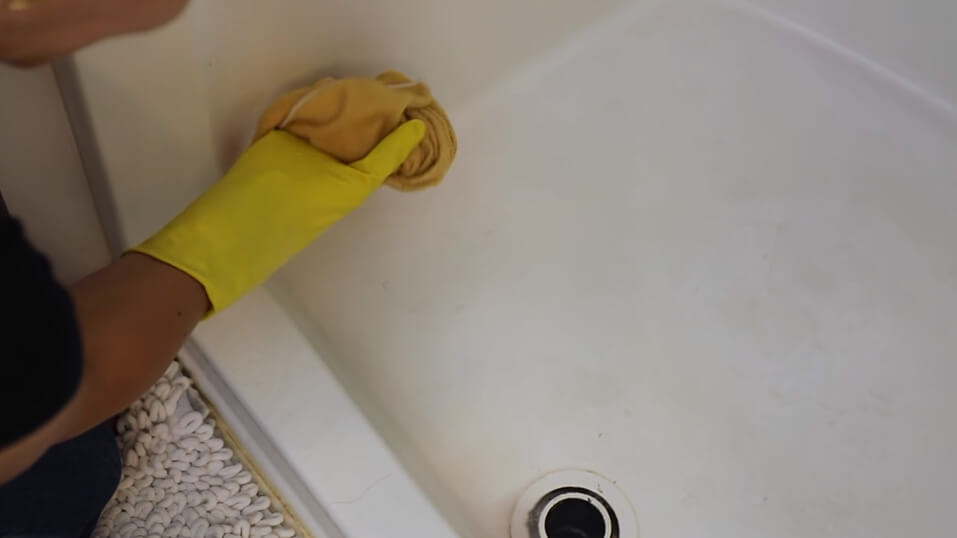
Step 2: Clean and Remove Any Old Caulking
The first step to repainting and restoring old tubs and showers is getting them prepped for the sanding process. This means you’ll give all the surfaces a good scrub down using common household cleaners like Comet or Ajax to remove stubborn soap scum or buildup. We used a product called Hard Water Stain Remover by Bio Clean (you can purchase it from Ace Hardware). This also removes dirt and debris that can make sandpaper nearly useless if it gets filled up with muck, making the sandpaper difficult to work effectively.
Now that everything is all clean you will need to remove any caulking that is cracked along the edges or in areas that should be repaired. Remove it with a razor blade, flathead screwdriver, or metal paint scraper of your choice. There is no need to fill in the caulking until you’re finished painting.
Step 3: Sand the Surface
To get the tub surface ready for painting, you need to use sandpaper that will scuff up the surface. Old tubs will have enamel that is old and cracked so all that is needed is to sand these surfaces to take off the first millimeter to get down to a metal surface (you’ll need to take extra care when sanding if you have a fiberglass tub or shower). Unless the tub or shower is in poor condition throughout, you’ll only need to focus on sanding problem areas. This ensures that anything that you paint on isn’t simply filling in the cracks that have formed over the years. If you have a circular sander, this will work quickly instead of sanding by hand.
Showers that have tile will also need to be sanded similarly. Just make sure that rounded edges are sanded where the tile is meeting the grout so you get all-around matte surfaces for the paint to stick. The sandpaper that works best should be 220 or 300-grit sandpaper. Buy more than enough sandpaper to last the entire job so you aren’t trying to use sandpaper that lost its grit.
Step 4: Mask-Off Surrounding Areas
Once sanding is completed, use your shop vac or traditional vacuum to collect and suck up all of the dust. Use the attachments to clean the walls likewise and give them a good rubdown with a damp cloth to remove any dusty particles. Now you can start masking off and laying down painting tarps, cloths (or tack cloth). Use the masking tape (or painter’s tape) to attach the plastic to areas where you don’t want epoxy paint to drip and become painted.
Once you’ve finished this step, cover anything else that you want to protect in the immediate area.
Selecting A Primer
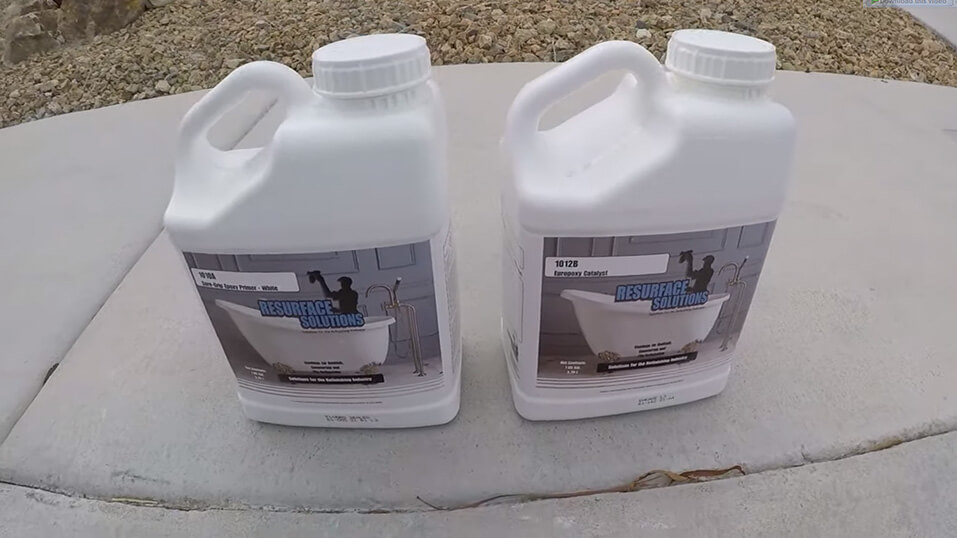
Epoxy Primer
If you’re going to use epoxy paint, you’ll need to use an epoxy primer designed for tubs and showers first. This primer is very similar to epoxy paint and must be mixed in 2-parts. Thinning this is easy enough for painting using a reducer liquid that goes with primer kits. This makes it thin enough to get the coverage you need. These speciality primers are great for resisting mildew and preventing corrosion. You can find all these products and speciality bathtub refinishing kits on Amazon, Home Depot, or Lowes.
Standard primers will not work for bathtubs since these will not hold up to repeated water usage for very long. Acrylic and other water-based primers are easy to use but they are (for the most part) water-based and because of this will they will not hold up to normal use.
Applying The Primer

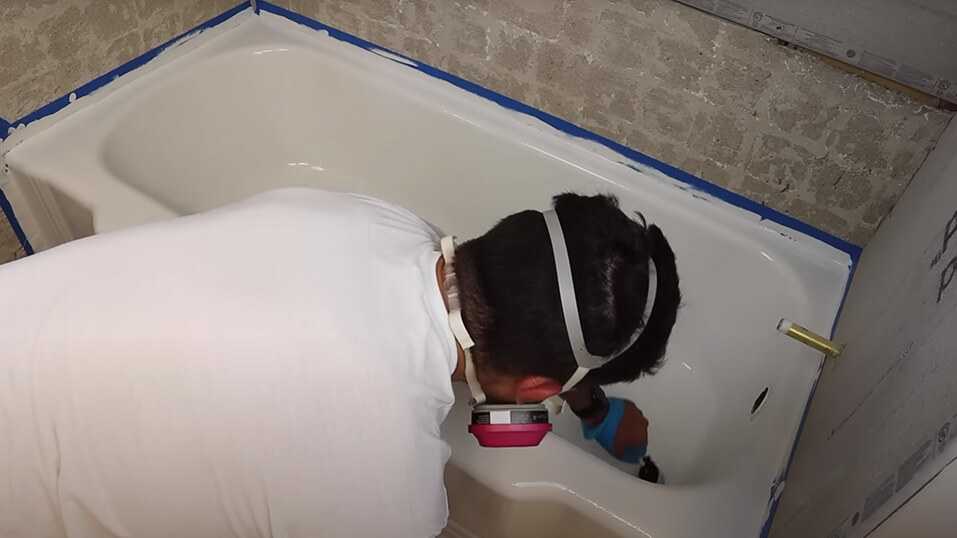
The primer layer will need to be hand-painted if you aren’t using any special spraying equipment. As most people don’t have spray canisters, the simplest method is to use a good paintbrush, roller, or even a sponge brush that is meant for painting fine layers. This is why you will need to thin down this epoxy primer to get a nice and even layer that doesn’t droop or sag once you paint a layer. Use a canister filter mask to keep epoxy fumes from bugging your lungs.
Only mix up as much primer coat as you need for the first layer. This initial layer should give you enough coverage to cover up rust stains or discoloration on tubs or tiles. This layer needs to cure for at least one full day before another layer is applied. You only need two layers to get sufficient primer coverage. Since epoxy primer sets just like any other epoxy, it needs time to cure, so curing times will depend on your weather, humidity, and temperature conditions.
Use a paintbrush that will not leave streaks and has finer bristles. These brushes can be cleaned with solvent later and reused so don’t just toss them in the garbage after using them. Small foam paint rollers used for fine detail are disposable and you can purchase them in packs to use after each use. Whichever method you use will have pros and cons so be aware that streaks, bubbles, and little blobs will appear that need to be brushed or rolled over so they disappear.
Keep in mind that once you finish the first layer, you can allow it to dry and sand down imperfections that you can see right away. This is why a second layer will cover anything that looked funky on the first layer. It can seem that the primer layer is pointless, but the results will be worth the time spent applying this protective layer. There should be no need to sand a finished primer layer since epoxy primer sticks like glue to epoxy paint.
Applying The Paint Layer
This is the final step toward finishing your tub or shower and is when you get your epoxy paint ready for application. These steps are very similar to applying the primer layer and can be repeated more than once to get the amount of gloss that you’re looking to achieve. Once again, you want to use a fine paintbrush or fine foam roller to add the first layer. The paint is should be thick enough to cover the grey primer color leaving only the color you choose to paint with.
Using your canister mask, start to paint the entire tub or shower surface starting from the top and working downward. This way you can chase any drips that you see from the higher surfaces that could drip or sag if you used too much epoxy paint. Once you are satisfied with the surface, you let this set overnight for at least 24 hours or more. If everything looks good you can add a second layer of epoxy coating to double up on your surface paint.
You can also sand down any imperfections that appear or knock off any bugs that got stuck in the paint. Either way, a second layer is best if you want a repainted layer that will last for years. Once the epoxy is fully cured you don’t need to add a sealing coat or anything else. This is when you can retouch areas that had (caulk) and restore and seal those spots that water shouldn’t go into. You can then remove the masking tape and drop cloths after everything is completed.
Epoxy Paint Vs Other Paint Methods
Many websites are recommending all sorts of crazy methods to paint tubs and showers, but the truth is not being told here. Tubs were meant to hold water and showers are constantly wet. If you are using anything else other than epoxy paint kits for restoring and refreshing color, you are asking for trouble. If these surfaces were only for display and not actual usage, you could paint whatever you like.
Epoxy paint resists water and this is why they make boats and watercraft out of epoxy materials. You wouldn’t want to sail on a paper boat if it was only protected with oil-based paint, therefor you want as much water protection as you can get. Don’t use anything else that isn’t 100% water-resistant for this reason.
It’s also worth noting, this guide does not cover glazing a tub which is often referred to as reglazing or re-enamelling, as this process is used typically for porcelain or ceramic tubs and the equipment needed is usually beyond a DIY bathtub refinishing project and it’s best to seek out a professional service if you’re looking to glaze your tub or shower.
Maintenance
The surfaces of a newly restored shower or tub are easy to take care of for many years. In a perfect world you’d wipe down your newly refinished shower or tub to avoid letting water sit and avoid scum buildup- but it’s just not practical. However, the good news is, epoxy is easy to clean. You just want to stay away from using harsh cleaners or scrubbing powders. Liquid cleaners that are less abrasive are perfect as long as they don’t contain harsh chemicals (like bleach or ammonia). Stick to natural cleaning products to clean off soap scum and mineral buildup. A little bit of baking soda and water, or vinegar and water, or even lemon juice and water, is perfect for cleaning a tub repainted with epoxy.
DOs and Don’ts When Refinishing a Tub or Shower
DO:
- Always use a creamy and mild non-abrasive cleaner that is meant for cleaning plastic or fiberglass surfaces. Products that are using harsh chemicals will damage the shine and surface.
- Use a disposable bathroom wall cleaner (similar to baby wipes) to wipe down walls and wet surfaces after each use to eliminate soap scum and mineral buildup.
- If you like to use a tub bath mat in the shower that helps give you a non-slip surface, choose a mat that isn’t using suction cups or added adhesives that might damage the painted finish.
- Any sign of scratches or chips on your painted surface should be repaired and touched up immediately so you can enjoy a repainted finish that won’t have future delamination problems.
- Always install ventilation in your bathroom to reduce and prevent moisture which is known to cause mildew and mold growth on wet surfaces.
DON’T:
- Extra-strength bleach and other harsh chemicals will eventually damage the epoxy surface and will start to discolor or begin to crack and fall off.
- Using scrubbing powders will take away the shine of epoxy surfaces in seconds and only damages the surface to promote more problems like mildew or mold.
- Any water that is allowed to stay on a painted surface will only promote a chance of staining, calcium buildup, or bacteria growth.
- Be sure to limit the use of hard minerals including bath salts and concentrated bath oils that will damage the surface epoxy very easily.
- There is no need to put heavy objects that sit in a tub for short or long periods. Epoxy paint not only chips by being dinged with mildly blunt edges, but it can actually appear dented from any weight placed on its surface.
The tips and steps to paint your tub or shower area are provided to you with a grain of salt. The only way to keep up the look and quality of a repainted tub is to clean it gently and take care of the surface just as you would for a favorite car paint job. But we all know that no amount of extra loving care will be without mistakes or accidents that are known to happen. If you have decided to repaint your shower or tub surfaces, you’ll want to use the steps we’ve listed here.
This is the best way to get better results rather than spending a lot more for a brand-new bathroom fixture. And with the money that you save, you can invest that amount into other bathroom extras that will help stretch your upgrading budget!


No comment