Painting Bathroom Cabinets Instead of Replacing
After years of looking at your old bathroom cabinets, perhaps it’s time to give them a proper makeover. And if you’re looking to save a ton of money, painting your cabinets is a great solution. It’s not only a cost-effective method to renew your bathroom but allows you to select more suitable colors. To take things even a step further, you can apply the same approach to your countertops, flooring, shower, and ultimately, your entire bathroom. If you are ready to dive in, this guide will help you choose the right paints, make preparations for your cabinets, and complete them with a finish that has professional results.
Difficulty Level

As far as DIY projects go, painting bathroom cabinets is not difficult. The real key to success is picking the right type of paint and preparations that help keep your painted surfaces including all the detail you want to show. This will also include updating and repairing worn cabinets to make them appear brand new again. The rest is just a matter of the paint finishes that bring out a freshly revived look you’re looking to have.
Key Tips
#1: Before any painting begins, you need to strip your cabinets down to the bare minimum. This means you need to remove doors, pulls, knobs, and hinges so you can begin to pre-sand everything. Pre-sanding helps the surface to accept new paint but also removes anything that may cause these surfaces to look lumpy and bumpy. If there are any dings or dents, these can be filled with a universal spackle and then sanded to match the surface.
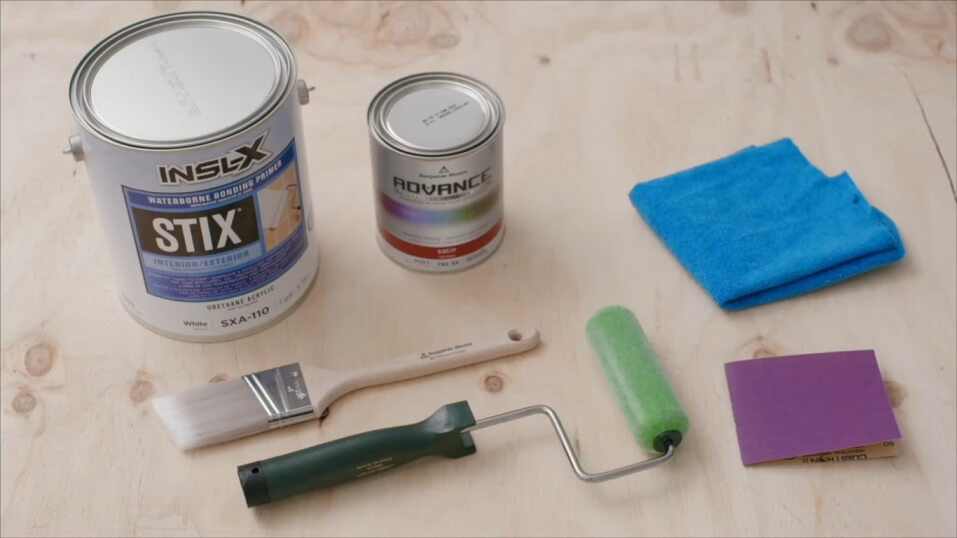
All of the surfaces should have a primer so you get even paint coverage without under colors bleeding through.
#2: The right paint that you will use is critical so you get the desired outcome next on your list. It’s best to use high-quality enamel paint such as oil-based or acrylic versions. These paints are best since they’re resistant to moisture and high humidity. They will also aid with holding up to regular cleaning duties and everyday wear and tear.
#3: While a single coat of paint might be easier, you’ll get better professional-looking results with two (or more) thinner coats. This gives you more control with full coverage and a cleaner coat rather than a single layer. The trick is to apply each coat and allow it to dry with minor sanding to remove any drips or mistakes that you don’t like before adding another layer.
Though this appears to be a time-consuming task, painting bathroom cabinets is a satisfying DIY project that is perfect for smaller home makeovers. You may also find that painting your cabinets is very therapeutic if you’re looking for a fun weekend distraction. Because this is a low-cost solution, the finished results will look as if you spent more without having to completely replace your old cabinets.
Challenges
We understand that not all cabinets were made using the same materials. Some cabinets are made exclusively from solid wood while others are laminates. This presents challenges for any of the materials that you paint over, which is why prepping beforehand is going to get the best results. There is also the chance that surfaces are damaged, scratched, or dinged and need touch-up repair to make their surfaces look new again.
This is why sweating little details through pre-sanding and preparation with primer will get you great results each time. Then again, little mistakes such as random drips, splatters, and streaks are managed with sanding after layers of paint are dry. This will give you a surface that will be smoother when it comes time for sealing your paint. No amount of obstacles matters more than the type of paint that you’ll use and the method that works best to apply these painted layers.
How To Paint Bathroom Cabinets
Choosing the Right Paint
You want to know that the right paint that you’re using is going to be the correct choice right from the start. Consider that your bathroom cabinets will be in an environment that is sensitive to temperatures and humidity changes and that means that moisture is an issue. This is why you’ll need to select paint that resists water damage while providing a finish that is likewise easy to clean. Regardless of the paint that you use, primers will help painted colors adhere better.
Types of paint
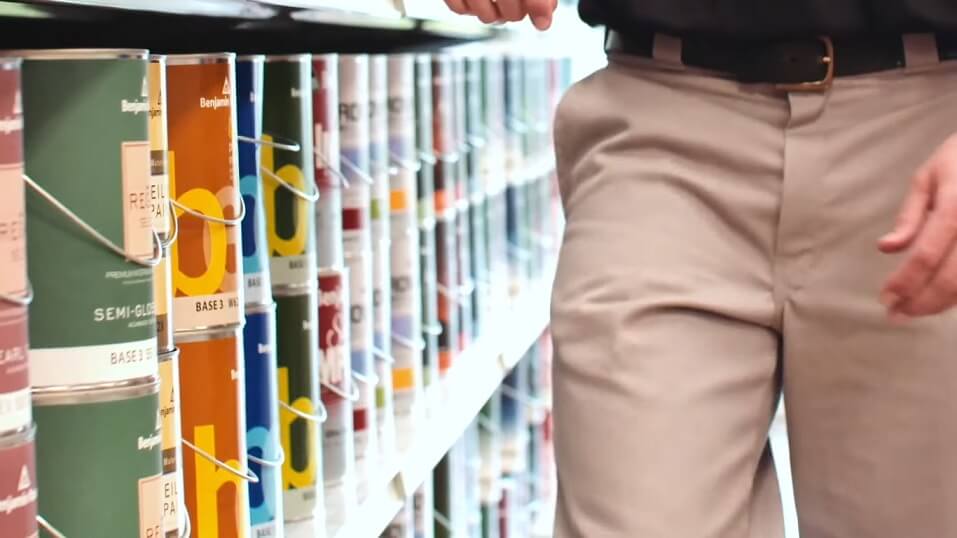
When you go to a paint store, there are a lot of choices that will all work based on their strengths and weaknesses. The assistants at these paint stores may not always be an expert on which will last the longest or have the moisture resistance that you’re looking to get. This is why this section will help clarify what types of paint are the best choices to look at. They will also be the same paint you will need to use if you even need to do touchups or repairs in the future.
It’s best to go to a professional paint store that has a wide selection and offers good prices. For most people, this includes home improvement centers that have excellent selections of interior paints and finishes. Avoid going to local discount stores that have a limited selection and no guarantee of quality. The last thing that you want is paint that could blister and peel because it’s not a top-name brand.
You also need to remember that you clean your bathroom with certain cleaners that can also affect these painted surfaces, so it’s better to choose paints that resist continual cleaning. The finish that you add to your paint will matter a lot in this regard, but having hard-wearing enamel paint has a better chance of standing up to years of cleaning and moisture changes. And even with pricier paint, you want to know that it’s meant to last so you don’t have to repaint it again.
This brings us back to an issue that is going to ensure that your surfaces that are painted are properly prepped beforehand. This is a detail that will keep the paint that’s applied sticking in place with no delamination problems. Don’t worry, we’ll cover this process so you know exactly what to do and how to do it right.
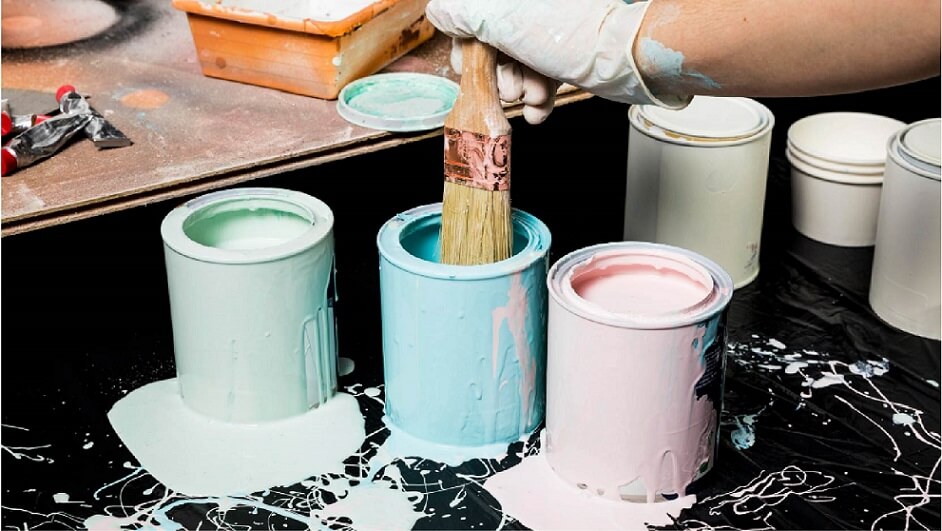
Here are the most common paints best suited for bathroom cabinetry:
- Acrylic Enamel PaintSee at Amazon
- Latex PaintSee at Amazon
- Chalk PaintSee at Amazon
- Oil-Based or Alkyd PaintsSee at Amazon
- Milk/Casein PaintsSee at Amazon
- Polyurethane-Based VarnishesSee at Amazon
Preparing Cabinets to Paint
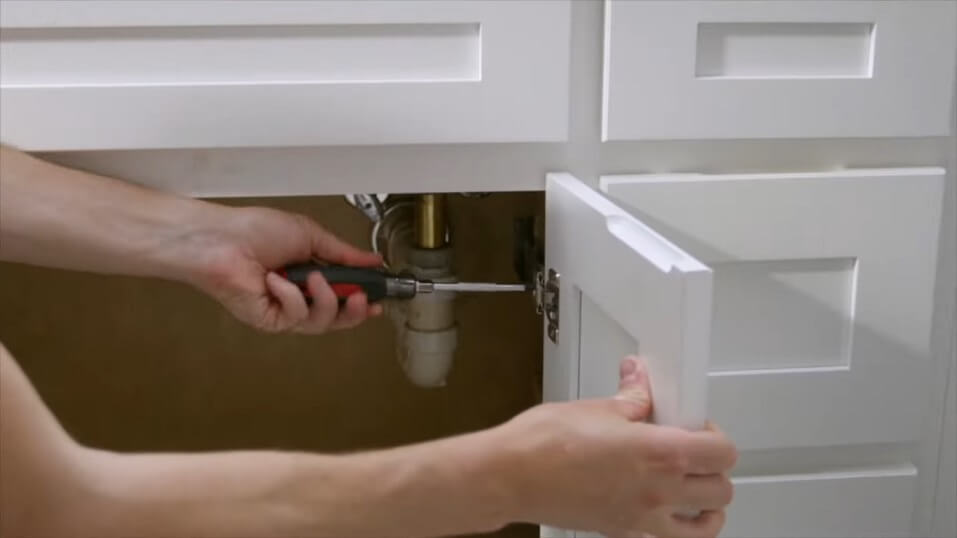
Every cabinet surface needs to be sanded before any painting starts. This helps remove anything on the surface that will prevent paint from sticking. It also roughs up the surface so the paint has a better ‘bite’ for adhesion. Before you start sanding, you need to make it easier by taking off anything attached to your cabinets. Hinges, knobs, handles, and anything with screws need to be taken off and set aside in a small box.
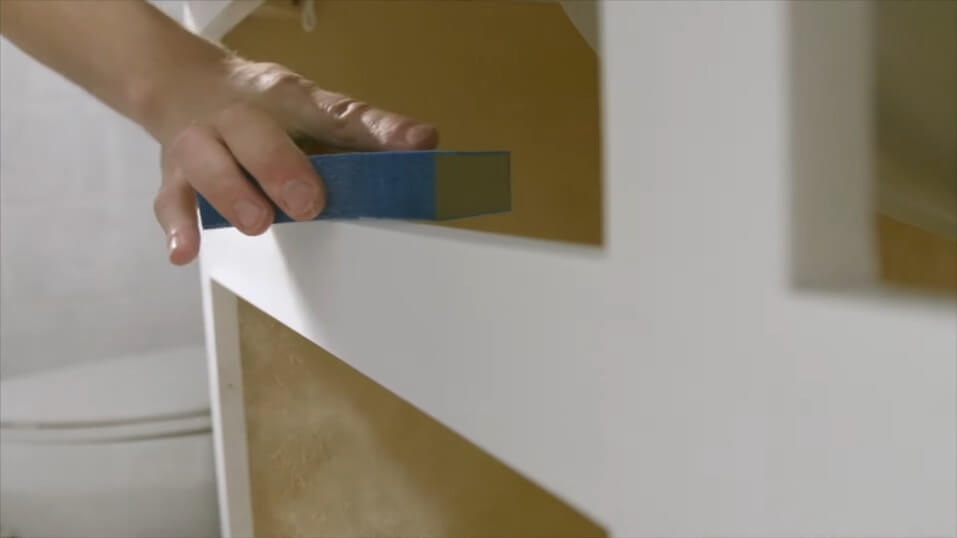
Set aside the door and pieces so you know they are either left or right side or mark it with painter’s tape on a spot that won’t be confused. This makes it easier to put back on once the painting is finished. If you haven’t cleaned your cabinets for a while, use a cleaner that removes dirt and oil that will have stuck to the surfaces. Clean them off with a paper towel so they are completely dry.
Don’t use cleaners that leave any residue behind as this will make it harder to sand off and muck up your sandpaper. Have a work area set up so you can start your sanding with a plastic drop cloth that is taped down using painter’s tape.
About Sanding
Sanding gets dusty so always wear a good dust mask to not get small particles in your nose and lungs. You should have two different types of sandpaper that include 220-300-grit for coarse sanding, and then finer paper -at least 650-grit. This helps break up any smooth surfaces but is not strong enough to leave deep scratches. It also helps a primer to stick onto that surface before you apply your choice of paint.
No matter what kind of cabinets you have, some tips make sanding easier. Here is how to sand like a pro and get the best-prepped surface before adding primer:
- 1Choose the Right Sandpaper Grit: Don’t buy cheap sandpaper that you find at discount stores. You need painter-grade sandpaper that comes in full A4 sizes. You can find these in the painting section of home improvement stores like Home Depot. This allows you to have more to work with and gives you better freedom for attaching torn strips to sanding blocks. You will primarily need one that is coarse grit and one that is fine grit. (220 and 650-grit is best)Always start with coarse paper and follow up with your fine grit to knock down any rough spots that were made with the coarse paper. Be sure to buy enough sandpaper so you don’t need extra, two or three sheets for each (A4 size) should be good for an entire cabinet.
- 2Sand in a Circular Motion: Don’t sand with an up and down motion or side to side. Rotate your hand using a circular motion using enough pressure that is constant with each circle you make. This gives you a better transition for anything sanded so you don’t see any pattern emerging from the surface getting scratched up. Switch hands often so you aren’t tiring your arm in the process.
- 3Sand with a Sanding Block: If you have a lot of flat surfaces, use a sanding block or flat piece of wood that you can wrap your sandpaper around. This keeps the sanding surface nice and flat and won’t make deep scratches if you were sanding with your hand. If there are rounded parts, you can use your hand and when there are decorative details, use a smaller wood piece to sand inside raised or sunken edges, or even beveled edges.
- 4Remove all Dust after Sanding: Use a shop vacuum or anything with a brush attachment to clean off all of your sanded surfaces. Use whatever is easier to remove the majority of dust before you make a final wipe-down using a damp cloth or baby wipe. Choose a baby wipe that doesn’t contain oil or lotions that may have residue. Let this dry for a couple of hours before moving on to priming.
- 5Use Safety Gear: Choose a dust mask that will filter out dusty particles that contain anything toxic or dangerous to breathe in. Basic work gloves are good but you can choose to use rubber painter’s gloves to have a better sense of touch. The big issue here is keeping dust out of your nose and lungs, so find a decent 3M dust mask.
- 6Sanding tip: Sanding is not so hard if you take your time and don’t rush in one single afternoon. If you want to have a professional finish, pre-sanding is going to give you better results for your paint to stick better and longer over the years. You can further lightly sand your primer to remove any defects once that has dried too. The painting is the easy part, so giving your cabinets a good sanding beforehand will be worth better results.
All in all, sanding doesn’t require a high level of craftsmanship- take your time and don’t try and get the job done in a single afternoon. If you want to have a professional finish, pre-sanding is going to give you better results for your paint to stick better and longer over the years. You can further lightly sand your primer to remove any defects once that has dried too. The painting is the easy part, so giving your cabinets a good sanding beforehand will be worth better results.
Applying the Paint
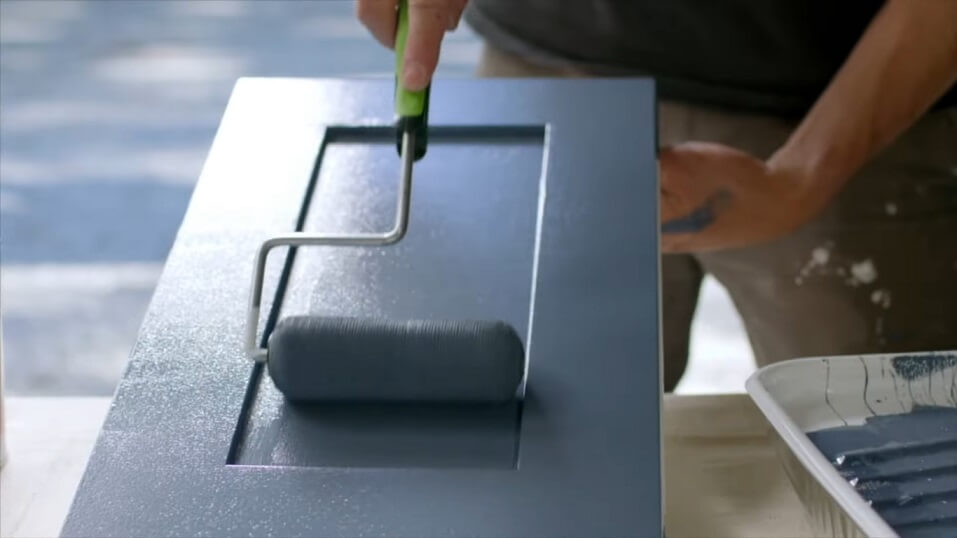
The hardest part of pre-sanding is done and now it’s time to get into painting. This is when you’ll begin adding primer to all the sanded surfaces. You can use a roller or paint brush for this using thin coats evenly painted on the surface. Work from one side to the other making sure not to leave brush strokes or roller lines. Thin layers work better since these take less time to dry than think coats. Let your primer dry for at least two hours before adding a second layer (if needed).
A few handy painting tips
- Paint 2 coats of primer and lightly sand in between drying
- Each primer coat should be totally dry before adding another
- Primer coats should be sanded lightly to remove any imperfections or mistakes
- After your primer coats are dry and lightly sanded, you can now paint your cabinets
- Use the same method as the primer, now use the paint of your choice
- Paint thin layers and allow each layer to dry and sand lightly before adding another layer
- Finish the painting by adding two or more layers of a protective sealer
Paint Brush vs Roller
You can choose to use a soft paintbrush or a paint roller. This all depends on your preference as either of these can do a great job if you have patience. A roller is nice but you need a smooth foam roller that doesn’t soak up as much paint as a paintbrush does. Different rollers are also recommended for certain paints.
Largely, foam rollers are disposable that can be tossed out, but brushes need to be cleaned if you want to use them again. If you like to cover a lot of flat areas in a short span, then a roller works best while a brush works better for intricate detail and recessed panels. You may find that using a combination of both will give you better results for a smoother and cleaner finish. Another tip is to ask the paint department employee -which is the best one for painting.
Ultimately, you should try both to get a feel for them and see how the painted surfaces look after using a brush and roller. It’s also worth watching Youtube tutorials on cabinet repainting to see the process before you start. If you aren’t feeling confident, practicing beforehand will make it easier if you paint some scrap wood or something that is similar.
Maintaining Your Newly Painted Cabinets
Once you’ve finished the whole painting process, you can reassemble and attach all of the hardware. You’ll be able to attach cabinet doors the same way the screws and attachments were before from the little screw holes that are still visible from before. After your work is finished you now have cabinets that are looking brand new again. That doesn’t mean you won’t be cleaning them from time to time.
For this, you will want to use cleaning supplies that will not damage the finish or paint. Avoid using the same cleaners that are used in your bathroom and opt for gentle cleaners like bathroom wipes. Better yet, you can always use a soft towel that is lightly damp, or sprayed with a gentle bathroom detergent. Never use scrubbing sponges on these painted surfaces since this can lead to scratches and a dull finish.
Pay close attention to anything placed on these surfaces so you don’t get any staining from bathroom products that accidentally spill on them. You can add shine if these surfaces by spraying a non-waxy finish spray that is typically used for coffee tables and wood surfaces. If your cabinets ever get damaged with scratches, you can repeat the painting process to touch up a panel or edges that need fixing.
From your previous experience, retouching won’t be such a big effort and you’ll know which paints and sealers to use the next time around.


No comment