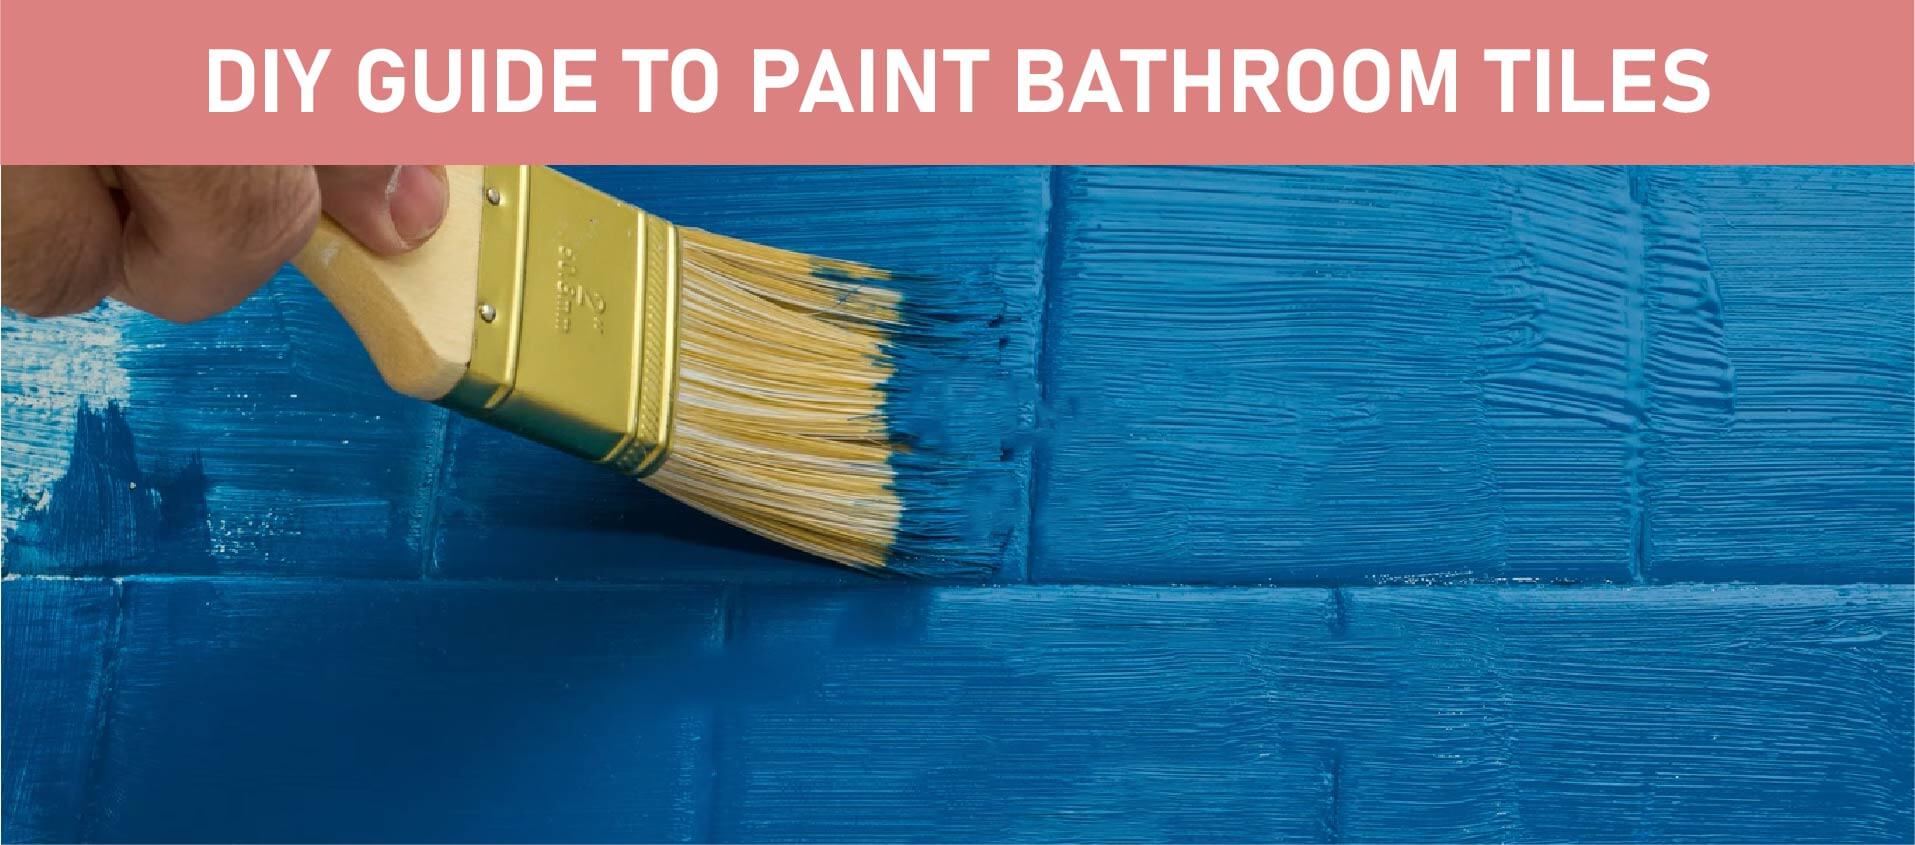
We all know remodeling projects can get to be expensive. Painting your bathroom tiles is an affordable and fairly painless way to give your bathroom a much-needed facelift.
With a few coats of paint, you’ll be able to transform a tired-looking bathroom into a stylish space that fits your personality and visual aesthetics. To ensure it lasts, durable paint finishes and proper maintenance help preserve their new look for years to come.
This DIY guide will take you through the basics of each step;
- prepping the existing tile surface
- applying paint layers
- applying lasting finish treatment
Preparing Your Bathroom Tiles For Painting
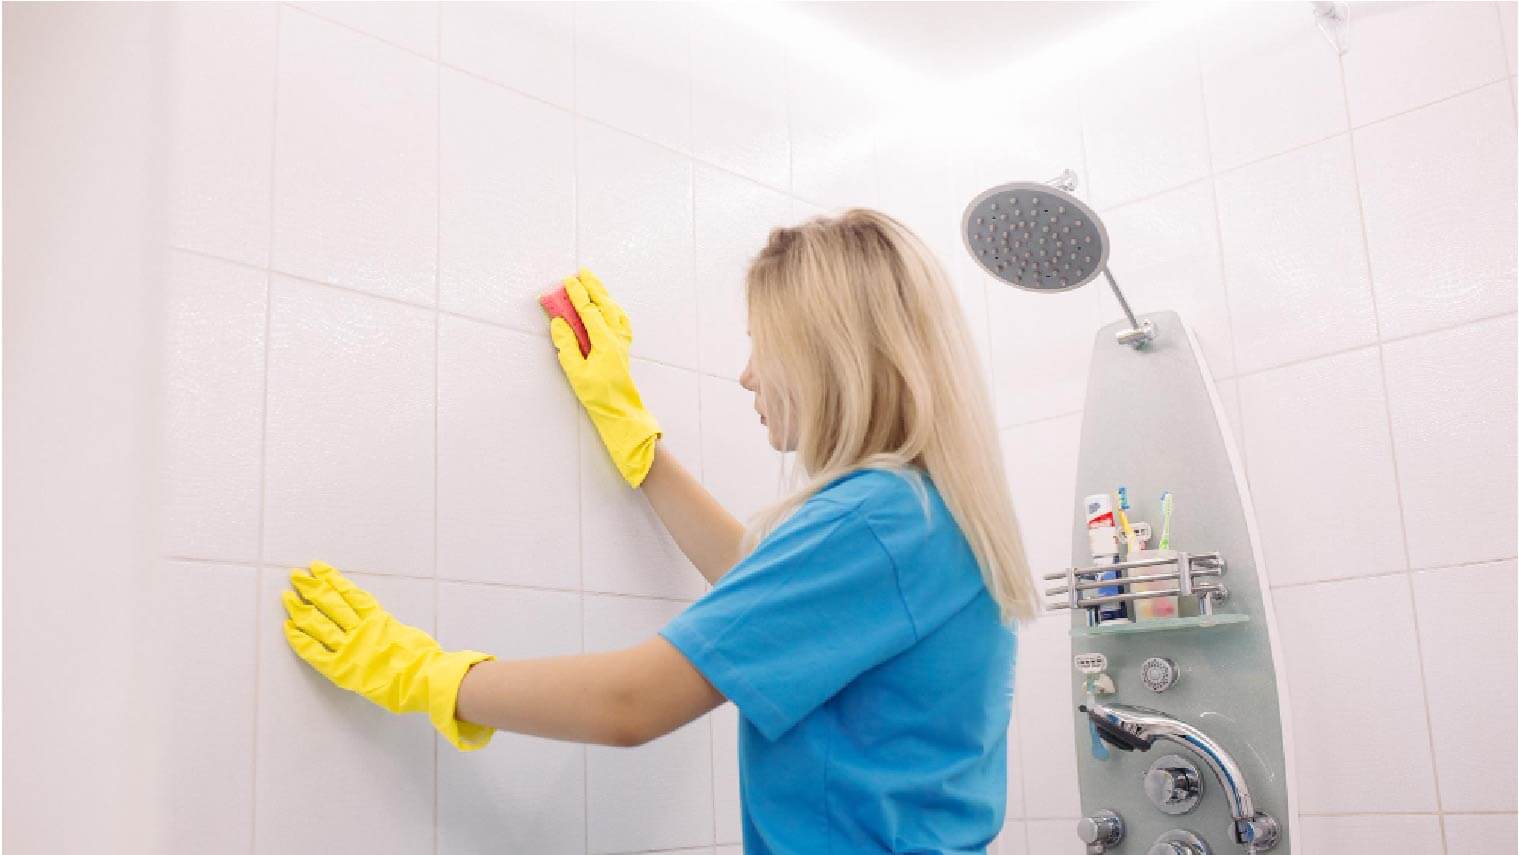
Before you’re ready to get painting , it’s important to make sure surfaces are clean and smooth. Start by properly preparing your tiles, by giving them a good once-over with a mild detergent and a soft brush. For stubborn stains, you may need to use a stronger cleaner with an abrasive sponge or steel wool -but be gentle. After scrubbing, give the tiles a thorough rinse and let them dry completely.
You’ll need to create a perfectly flat finish to accentuate any added color which is done by lightly sanding your tiles with some fine-grit sandpaper. We recommend using 240-600 grit sandpaper for the best results. Make sure to wipe away any dusty powder that’s left from sanding before beginning to paint.
Keep in mind that prepping your tile correctly plays a big part in this type of DIY project. This is what makes all the difference between average results and something you can be proud of. The end result will look like it was done by a pro.
Steps for Preparing Tiles for Painting
- Clean all the tiles and their surfaces using mild detergent and a soft brush.
- For more stubborn stains, use stronger cleaners and an abrasive sponge or steel wool with a gentle scrubbing motion.
- Rinse the tiles thoroughly with water and then let them dry completely.
- Sand all the tiles lightly with sandpaper to create a flat finish that helps accentuate color when they are painted.
- Wipe away any dusty surfaces that are leftover from sanding, before beginning to paint.
Choosing The Right Paint For Bathroom Tiles
Once you’ve decided on the design style and colors your after for your new bathroom the next key decision you’ll make is selecting the type of paint you’ll be working with for your transformation project. Depending on the surface textures or style you’re trying to achieve, there are different types of paint you can use for repainting bathroom tiles.
Oil-based paints are known for their durable and long-lasting finish and are perfect if you want to cover dark tiles colors.
Latex paints provide good coverage while remaining moisture-resistant abilities. This is so it won’t swell or crack in bathrooms that tend to get humid more often.
Epoxy paints are an excellent choice if you want professional-looking finishes that are highly resistant to water, stains, and heat. These are formulated as a hybrid mixture that contains acrylic and urethane resins which provide maximum protection for painted bathroom tiles.
No matter which option you choose, just make sure that any of these three are high-quality products to get the best results.


Oil-Based Paint for Tiles
Oil-based paints are generally more difficult to work with than latex or epoxy paints since it requires special surface preparation before the paint is applied. This will include cleaning the surface thoroughly along with priming and sanding. Before using oil-based paints on bathroom tiles, you also want to ensure that the walls and cracks are free from dirt and dust. Oil paints typically take longer to dry than latex or epoxy paints.
Use a brush (or roller) specially designed for oil-based paints for good results. Once applied, leave the paint to cure for at least 24 hours (or more) before applying any top coats or sealers. If you need to add a second layer, you’ll need to repeat painting or touch-ups after the first layer is dried.
When everything is done cleaning-up spots or drips with mineral spirits and a clean rag takes care of the rest.
By following these steps, you can get the best finish possible and maintain surface longevity that will last for years.
Latex Based Paint for Tiles
Here are some things to be aware of when choosing to work with latex based paints;
It is important to remember that latex paints are moisture sensitive and will take longer than oil-based or epoxy paints. You can speed this process up with air ventilation but be careful that any dust a fan brings in might stick to the paint. Furthermore, when applying latex paint, always use a roller or brush designed specifically for latex-based paints.
It’s equally important that wall surfaces are free of dirt and dust before applying otherwise you may have bits of dust or debris stuck into the painted surfaces. When you’re finished, let the paint dry for at least 12-15 hours, before adding any top coats or sealers. To clean up any drips or spots on the floor, use denatured alcohol and a clean rag. You can easily achieve a durable finish that lasts for many years if humidity isn’t a constant problem.
Epoxy Paint for Tiles
Epoxy paint is obviously the pricier option for painting bathroom tiles because of its highly resistant properties against water, stains, and heat. Keep in mind that epoxy paint combines acrylic colors and urethane resins that give a tough protective layer on the surface of your tiles. You do need clean walls and prepped surfaces to have the best adhesion but be careful to have all surfaces clean in your bathroom to prevent dust or dirt specks from landing on drying tiles.
After painting, let these surfaces dry for at least 12-24 hours before adding anything extra. Epoxy paint can be applied using a roller or brush though you do need to be careful when applying this paint with a brush. A roller would be better for maintaining thickness and coverage with minimal effort. Be sure to put down a plastic drop cloth since epoxy paint is not so easy to remove unless you use acetone and clean rags.
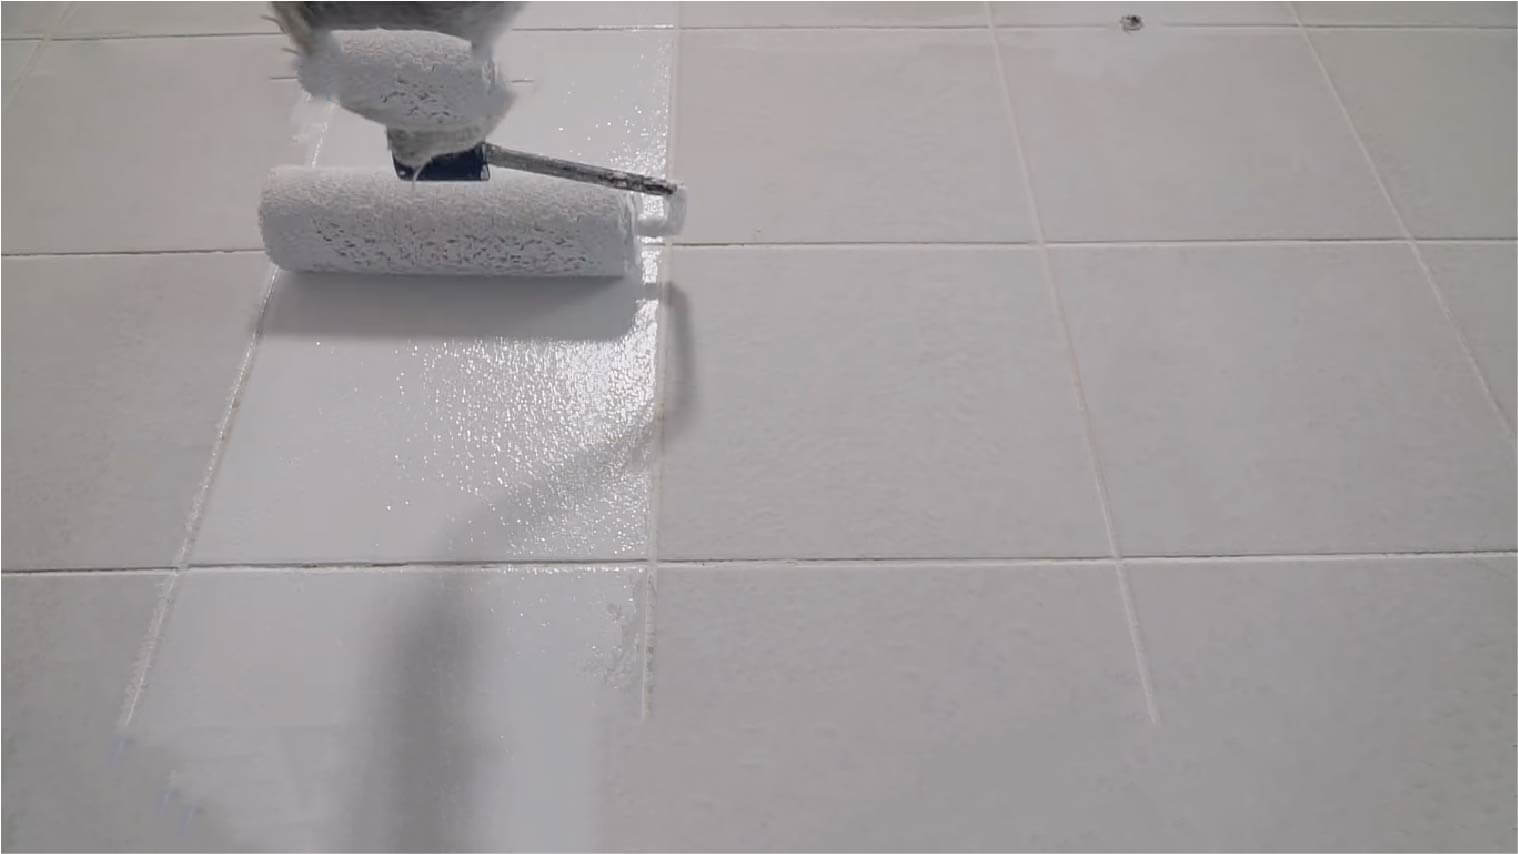
Painting Your Bathroom Tiles
Applying paint with either a brush or roller is key for even coats. This helps you avoid having painted too much or too little over any given surface area that prevents lumpy-bumpy texture or intentional-looking paint streaks. Another thing to remember is to make sure that you start at one end of the room and work toward the other so each tile section is painted uniformly and evenly. Once the first coat has dried completely, you can opt to apply a second coat in exactly the same manner if you didn’t get the kind of texture or solid color you were looking to have. It might sound redundant, but repetition of these steps is the best bet for success.
Steps to Painting Tiles
- Gather all your materials needed: paint, proper brush or roller, plastic drop cloths, and painter’s paper masking tape.
- Prepare the surface of the tiles by cleaning them off thoroughly with a cleaner or degreaser, or alternatively use abrasive pads to remove any tough stains that don’t come off easily.
- Apply a surface primer onto your tiles (before painting) specifically for your type of bathroom tiles and allow them to fully dry. This is an option for some surfaces like floors to get better bonding strength, but not always for walls.
- If necessary, sand down uneven spots that you can see on the tile surface before painting since this helps ensure good bonding and an even coat of paint when you start applying it.
- Attach plastic drop cloths around the area where you are going to be painting since this will catch any drips or splatters. Be sure to use painter’s tape to keep the plastic sheets from moving where you don’t want them to move.
- Apply the first coat of paint using a roller or paintbrush. As you apply these coats of paint evenly, work from one end of the room towards the other- so that every single tile is painted uniformly.
- Clean your brush or roller when you are finished, so you can reuse these a second or third time for a second coat or simple touch-ups later.
- Apply a second coat in exactly the same way as described in Step 6… Also, try to reuse your paintbrushes and rollers so you aren’t buying them over and over.
- Wait for your newly painted tiles to dry before removing drop cloths and admire your work!
Recapping Key Tips for Painting Tiles
- Gather all the necessary materials: paint, brush or roller, drop cloths
- Prepare all surfaces by cleaning them thoroughly using either household cleaners or abrasive scrubbers
- Sand down any uneven patches beforehand so your paint sticks better
- Place drop cloths around the bathroom area to catch splatter while working
- Apply a primer (if needed) that’s designed for select bathroom tiles and let dry completely
- Begin applying your paint with even strokes across each tile until fully covered without going over areas twice
- Allow the first coat to dry completely and then apply a second coat in the same manner (as needed) ensuring your tiles are fully covered
- Wait for tiles to completely dry before removing drop cloths and clean up spills or drips accordingly
- Admire your work.
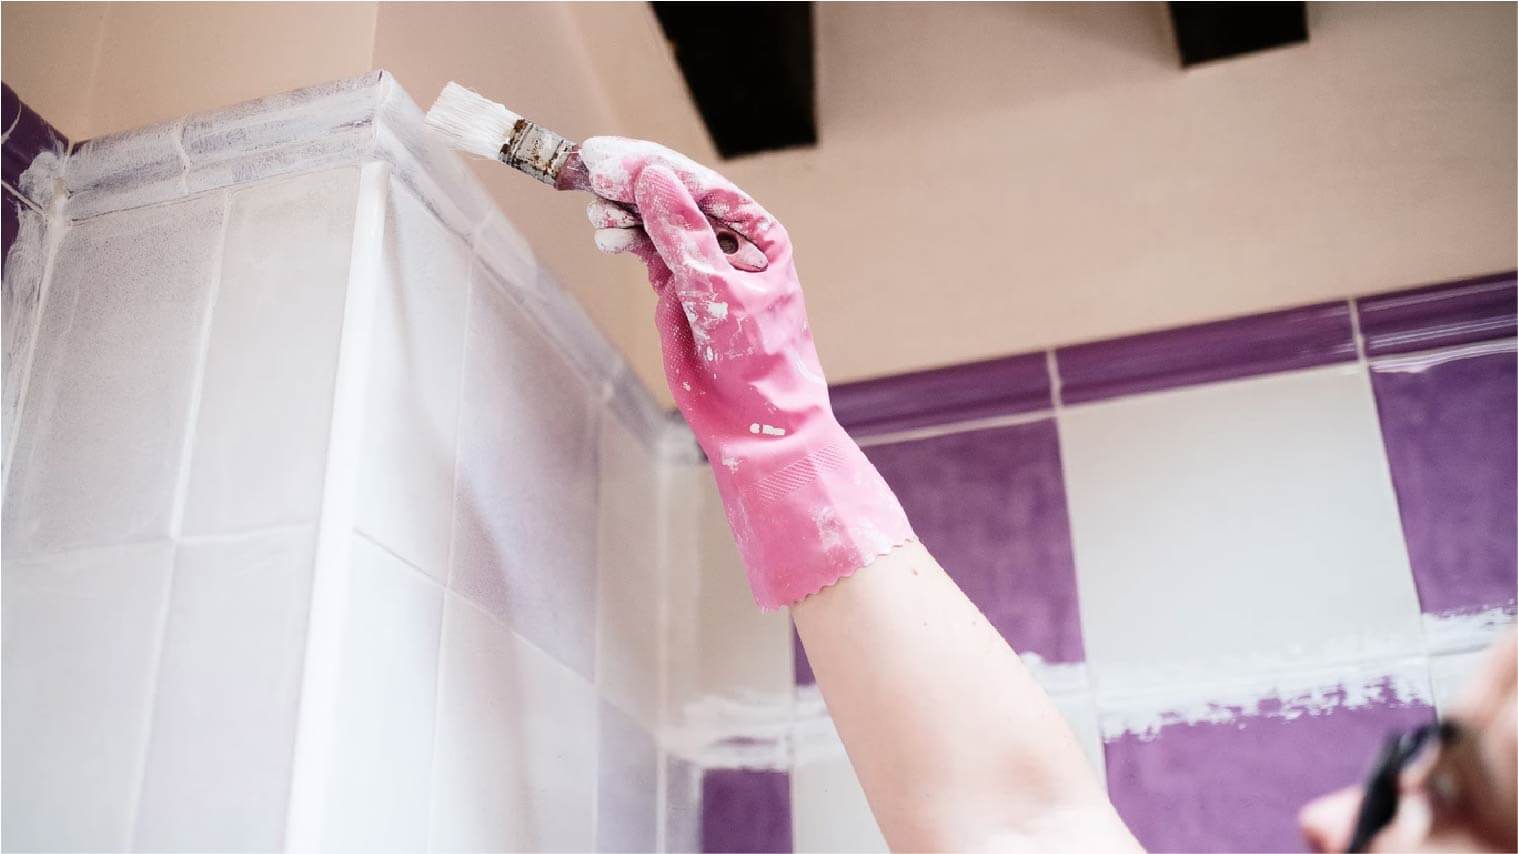
Appling Finishing Touches
Once you’ve painted your bathroom tiles and are pleased with the overall look, now it’s time to give them a protective seal. Sealing is an equally important step that helps your painted tiles further deflect dirt and moisture that could otherwise cause discoloration or delamination. When selecting sealers, make sure you find one that matches the type of paint you used, as not every sealer will work for the three types of paints that are used.
To maintain a longer life for your protective seal, it’s best to reapply a new sealed layer every 6 months or so. This is really depending on the conditions in your bathroom and how often you clean your tiles regularly. With all the right steps completed, you’re now ready to seal your tiles so they’ll stand up to everyday wear and tear for much longer.
Steps for Sealing Painted Tiles
- Have the appropriate sealer ready to use: Choose a sealant appropriate for the type of paint used such as acrylic, latex, or oil-based paint. Make sure the sealant you select is specifically for these types of paint otherwise it may damage the painted surfaces.
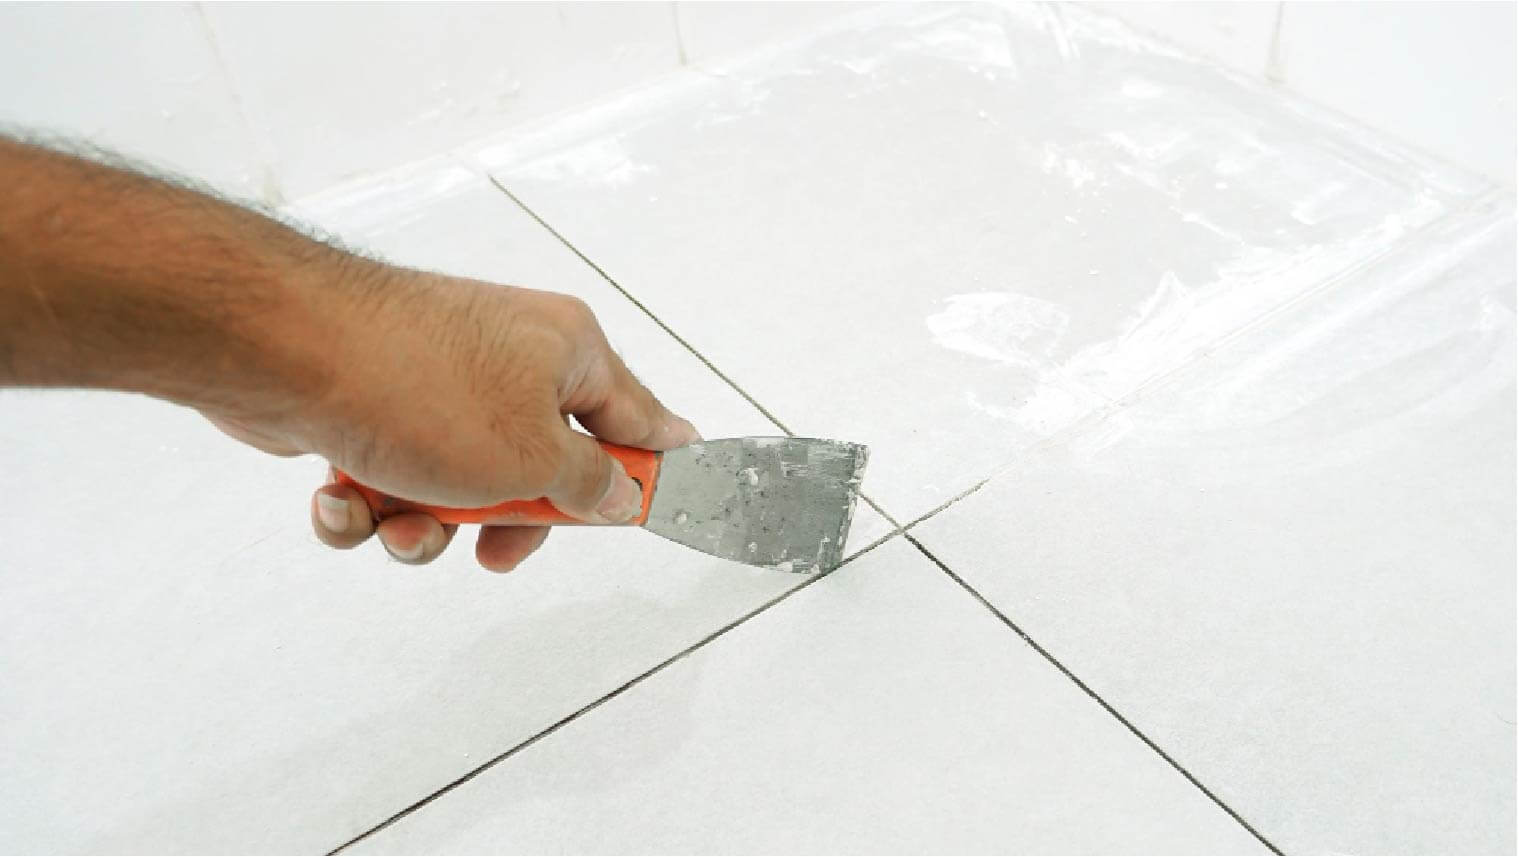
- Prepare the surface of the painted tiles: If necessary, sand down any uneven patches on the tile surface before painting; this helps the sealer stick onto the paint when it’s scuffed up a little bit.
- Select a roller rather than a paintbrush for an even and smooth coat. Some rollers may become damaged after you use them so be sure to buy extras just in case.
- Place plastic drop cloths around the area where you are going to be painting—this will catch splatters or drips that come from applying it to the painted tiles.
- Using a roller, cover the same tiles the same way that you did when painting them from one end to the other for the best coverage. This way you don’t overcoat the same area by mistake.
- Allow the first layer of sealer to dry completely. If you have to apply a second coat, wait until the sealer has completely dried for 6-8 hours in between sealing coat layers.
- Remove your plastic drop cloth and clean up any excess drips with acetone or solvent that dissolves the sealant using a paper towel or clean rag.
- Now you can finally step back and admire your bathroom transformation!
Maintaining Painted Bathroom Tiles
Painting bathroom tiles is an excellent DIY project that gives your bathroom a simple cost-effective makeover. However, to ensure that this new look lasts as long as it should, you’ll need to perform regular upkeep and maintenance on the tiles fairly often. This includes cleaning off any soap scum and stuff that’s on the tile surfaces before you do any touch-ups or resealing. This just helps with reducing any delimitation problems later.
You want to pay attention to what materials you use and how you’re using them around painted tiles. Everyday cleaners that can be harsh to paints can easily remove a painted surface if you use the wrong brand or scrub too hard. Paint sealants can readily be applied after painting for extra protection and durability but aren’t designed to last forever. This is why you can reseal these surfaces every 6 months for the best long-lasting results.
If there are any chips or damage that scratch-off paint on the tile surface, you’ll need to make special touch-up repairs. Have extra paint and supplies to repair them as needed. Since the paint will be the same, there should be no trouble matching a newly painted section. Always prep these areas using the steps mentioned in this guide to get the best results.
Before & After Painting Tiles
 After
After
 Before
 After
After
 Before
 After
After
 Before
 After
After
 Before
See more bathroom before and after pictures here.


No comment